

🇺🇸 Deploying on Clever Cloud a backend coded in Go and a web application developed in React
both located in a single git repository


Presentation
Generally, when I deploy a web application, the backend and frontend have their own git repository.
However, sometimes I need to deploy an application where both components are on the same repository and with different technologies.
In this article, I will detail how to deploy a web application that falls into this category.
The backend is coded in Go and the frontend in ReactJS.
This application displays notifications in the form of squares on a web page:
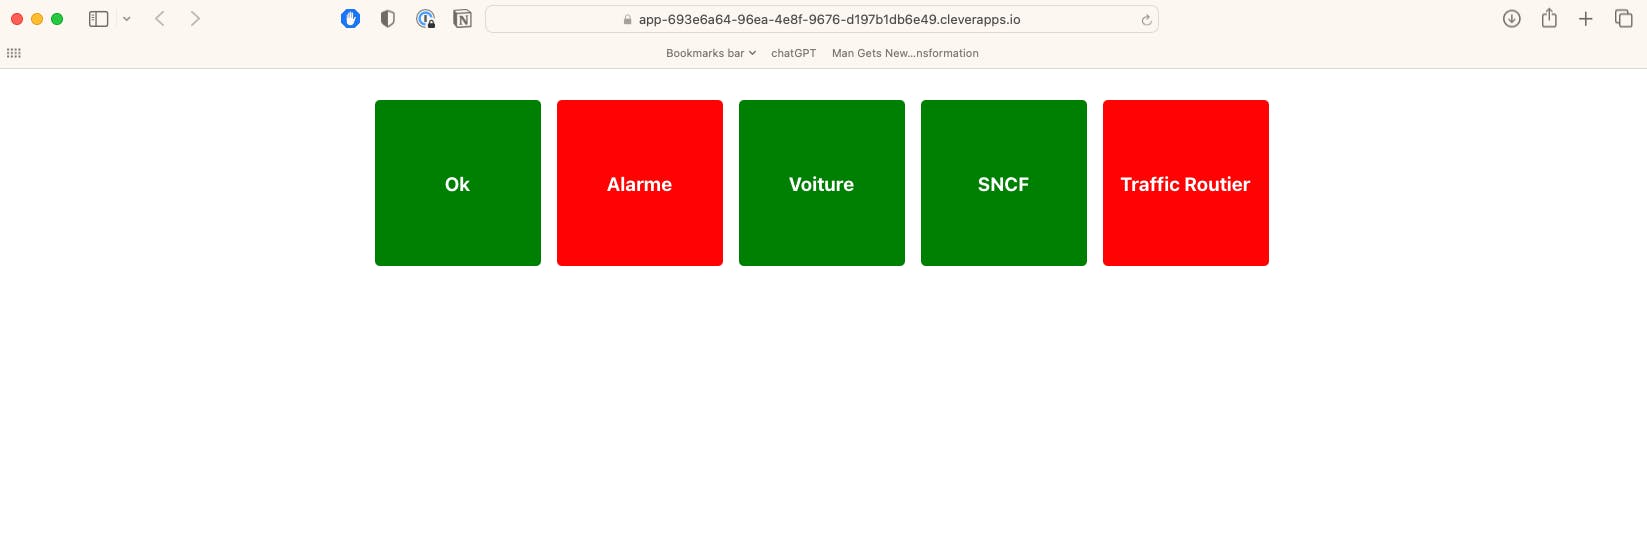
The backend server will send the events to the frontend via SSE, which will allow the front to be updated without needing to refresh the web page.
You will also be able to modify the statuses directly in the database.
The LISTEN / NOTIFY functions of PostgreSQL are used to notify the backend in the event of a change in the table containing the statuses.
Prerequisites
clever-tools
Ensure you have installed clever-tools on your workstation : Doc
PostgreSQL Client
You will need the psql client on your machine.
Preparing the work environment
First and foremost, we will create a working directory and pour the code of the backend as well as that of the frontend into it.
cd /var/tmp
git clone https://github.com/fredericalix/status-board-demo.git
cd status-board-demo
export STATUS_BOARD_DIR=/var/tmp/status-board-demo
export STATUS_BOARD_BACKEND=$STATUS_BOARD_DIR/backend-server
export STATUS_BOARD_FRONTEND=$STATUS_BOARD_DIR/frontend-server
We will define an environment variable that we will use in the next steps.
Go to your Clever Cloud console and retrieve the ID of the organization where you are going to deploy the application.

export CC_ORGA=orga_xxxxxx_xxxxxxxx_xxxxxxxxx
Deploying the application
Backend
Go to the directory containing the backend code -> cd $STATUS_BOARD_BACKEND
Now, we will create the application in our Clever Cloud environment, the database that will store the application data, and finally, deploy it.
cd $STATUS_BOARD_BACKEND
clever create cc-statusboard-backend --type go --org $CC_ORGA --region par
clever config update --enable-force-https
clever scale --alias cc-statusboard-backend --build-flavor S
clever addon create postgresql-addon cc-statusboard-db --link cc-statusboard-backend --org $CC_ORGA --region par --plan xs_sml --yes
clever env set PORT 8080
clever env set APP_FOLDER ./backend-server
clever env set CC_GO_BUILD_TOOL gomod

export STATUS_BOARD_BACKEND_URL="https://`clever domain|awk '{print $1}'`"
We need to initialize the structure of the database:
psql `clever env | awk -F = '/POSTGRESQL_ADDON_URI/ { print $2}'|sed s/\"//g` -f $STATUS_BOARD_BACKEND/sql/init.sql
Finally, launch the deployment of the application on the Clever Cloud infrastructure:
clever deploy
After a few minutes, your instance will be online:

Run the following command to check that your API is working:
curl -X GET $STATUS_BOARD_BACKEND_URL
You should have the following return:
hello from clever cloud
Frontend
Now, let's head to the directory where the frontend code is located -> cd $STATUS_BOARD_FRONTEND
IAll that's left to do is deploy the frontend application.
cd $STATUS_BOARD_FRONTEND
clever create cc-statusboard-frontend --type node --org $CC_ORGA --region par
clever config update --enable-force-https
clever scale --alias cc-statusboard-frontend --flavor nano --build-flavor S
clever env set PORT 8080
clever env set APP_FOLDER ./frontend-server
clever env set REACT_APP_API_URL $STATUS_BOARD_BACKEND_URL
clever env set CC_NODE_DEV_DEPENDENCIES install
clever env set CC_POST_BUILD_HOOK "npm --prefix ./frontend-server/ run build"

export STATUS_BOARD_FRONTEND_URL="https://`clever domain|awk '{print $1}'`"

clever deploy
Using the Application
To connect to the frontend application, display the URL with the command:
echo $STATUS_BOARD_FRONTEND_URL
Head to your favorite browser and there, a beautiful white screen!
That's normal.
We will now create, update, and delete a status via the terminal.
The update in the browser will happen automatically without needing to force the refresh of it.
You can find the documentation for using the API here:
https://github.com/fredericalix/status-board-demo#using-the-api
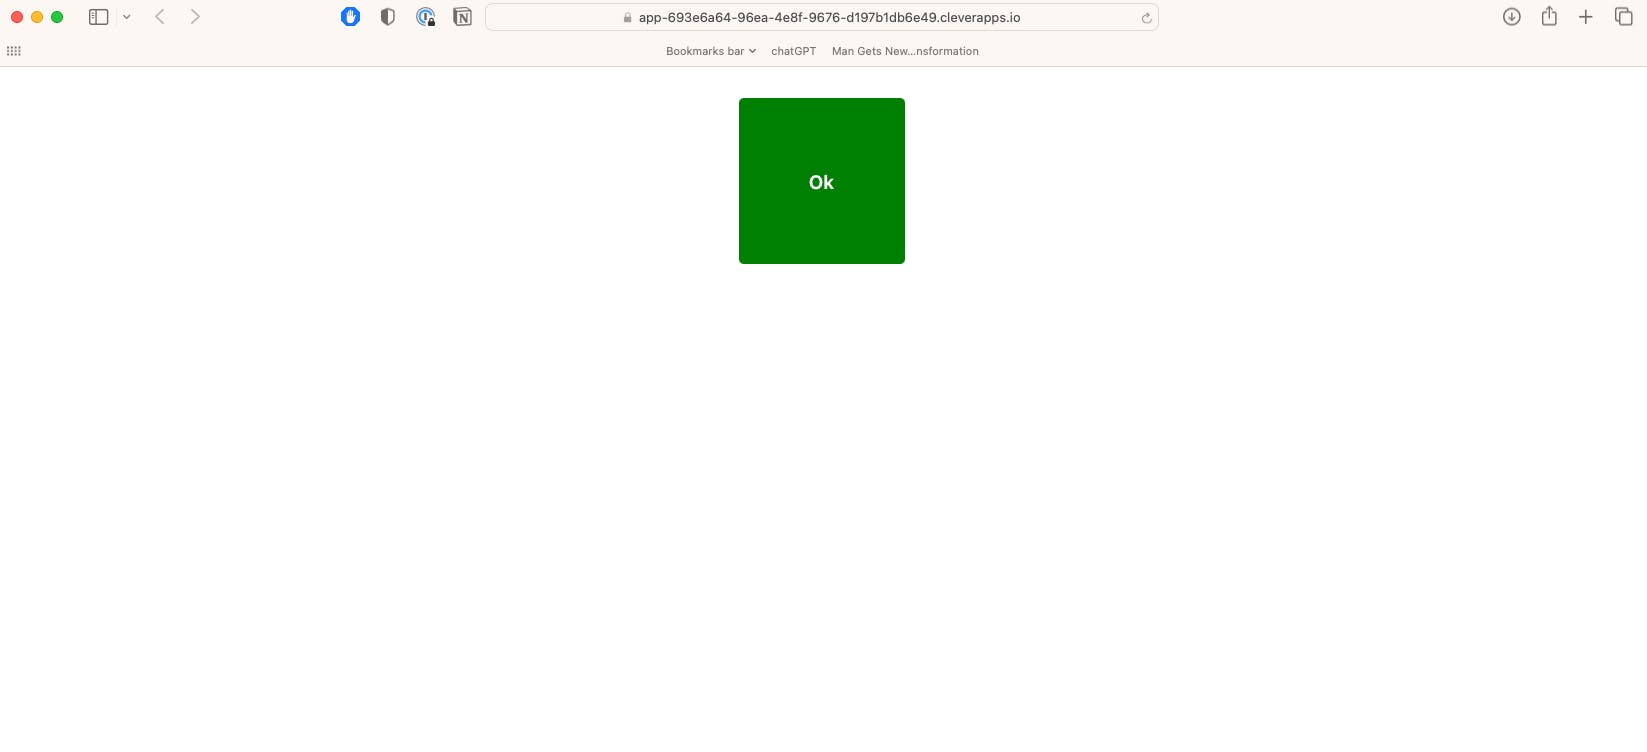
Creating a Status
curl -X POST -H "Content-Type: application/json" -d '{"designation": "Ok", "state": "green"}' $STATUS_BOARD_BACKEND_URL/status
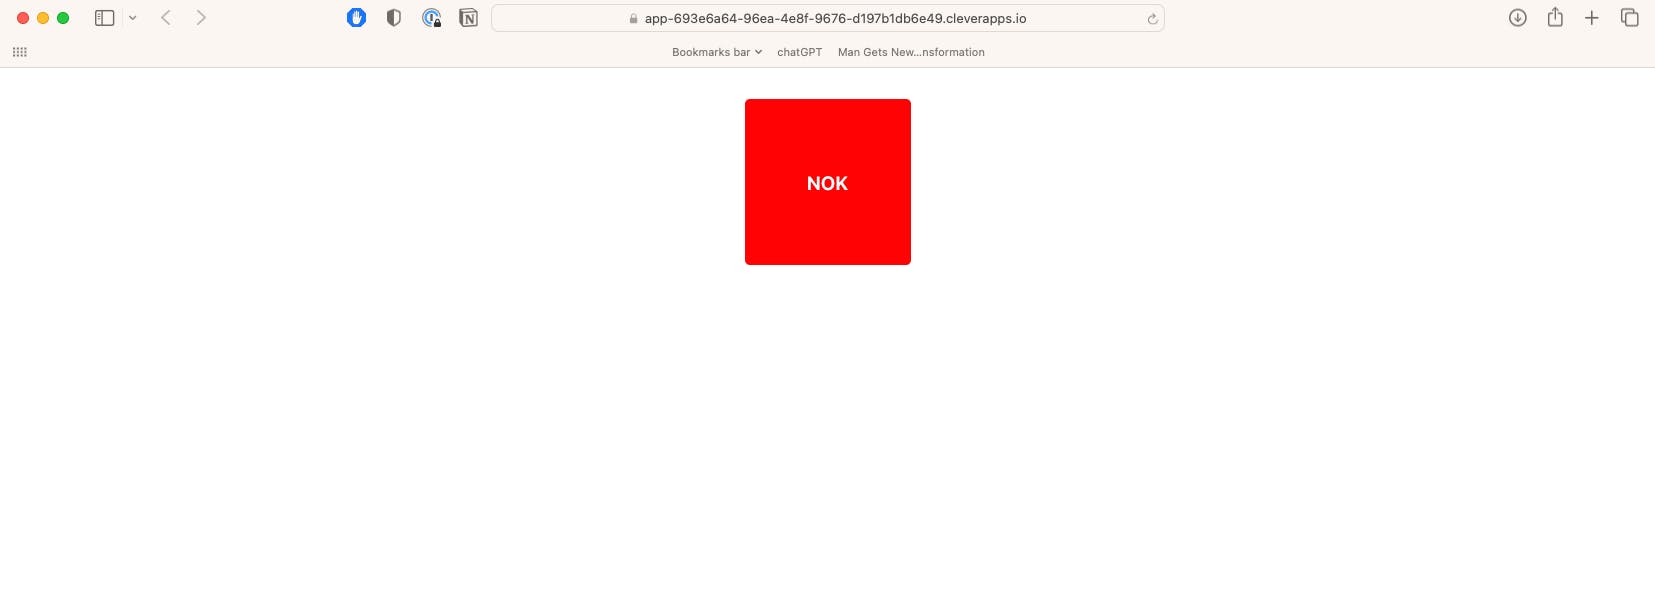
Updating a Status
curl -X PUT -H "Content-Type: application/json" -d '{"designation": "NOK", "state": "red"}' $STATUS_BOARD_BACKEND_URL/status/1
Deleting a Status
curl -X DELETE $STATUS_BOARD_BACKEND_URL/status/1
Conclusion
Our application is deployed.
In a future article, we will use it to discover the features of horizontal scalability, auto-scaling, and high availability offered by Clever Cloud.