Presentation
Are you familiar with OpenVSCode Server? OpenVSCode Server is an open-source project that allows you to deploy a Visual Studio Code (VSCode) development environment on a remote server. It offers an experience similar to that of local VSCode, but with the advantage of being able to access your development environment from any web browser. This makes collaboration, access to cloud resources, and setting up consistent development environments for teams easier.
The OpenVSCode Server project is maintained by Gitpod, a company that provides cloud-based development environments. Gitpod developed OpenVSCode Server to extend the capabilities of Visual Studio Code and provide developers with a richer and more accessible online development experience.
OpenVSCode Server supports VSCode's core features and extensions. It deploys easily on the Clever Cloud platform, but I want to be able to create and delete it automatically. In this article, I will detail a solution to meet my needs using the n8n workflow engine. As a reminder, n8n is a software that allows you to automate tasks in the form of workflows.
Roadmap
First, we will deploy an n8n instance on Clever Cloud. n8n will be used to create future OpenVSCode Server instances that will be hosted by our favorite cloud provider. We will therefore need to install the clever-tools tool in this instance to allow n8n to deploy containers at Clever Cloud. Next, we will create a workflow in n8n that will handle creating and deleting an OpenVSCode Server instance.
Installing n8n
Prerequisites
clever-tools
Make sure you have installed clever-tools on your workstation: Doc
It is important to have already set up the Clever CLI to retrieve the token and secret. We will see later that n8n will be responsible for creating Docker instances on the Clever Cloud platform. It will use the clever command and will need a configuration file including your token and secret. So, if you have never used this CLI before, run the following command and follow the instructions :
clever login
Creating the package.json file, the run.sh script and copy clever-cloud directory
mkdir /var/tmp/n8n
cd /var/tmp/n8n
cp -rp ~/.config/clever-cloud ./
git init
Create the package.json file.
{
  "name": "n8n",
  "version": "0.221.1",
  "engines": {
    "node": "16.9"
 },
  "dependencies": {
    "n8n": "0.221.1"
  }
}
Create the run.sh file.
#!/bin/bash
set -x
./node_modules/.bin/n8n start
Add both files and the directory to the git repository
chmod a+x run.sh
git add package.json run.sh clever-cloud
git commit -m "Init n8n launch"
Creating the n8n instance
clever create cc-n8n --type node --org <YOUR_ORGA_ID> --region par
clever config update --enable-force-https
clever scale --alias cc-n8n --flavor XS
clever scale --alias cc-n8n --build-flavor S
clever addon create postgresql-addon cc-n8n-db --link cc-n8n --org <YOUR_ORGA_ID> --region par --plan xs_sml --yes
clever addon create fs-bucket n8n-fs-data --plan s --link cc-n8n --org <YOUR_ORGA_ID> --region par --yes
clever env set PORT 8080
clever env set N8N_VERSION 0.221.1
clever env set N8N_PORT `clever env | grep -w PORT| awk -F = '/PORT/ { print $2}'|sed s/\"//g`
clever env set N8N_PROTOCOL https
clever env set N8N_HOST `clever domain|awk '{print $1}'`
clever env set WEBHOOK_TUNNEL_URL "https://`clever domain|awk '{print $1}'`/"
clever env set VUE_APP_URL_BASE_APP "https://`clever domain|awk '{print $1}'`/"
clever env set EXECUTIONS_DATA_SAVE_MANUAL_EXECUTIONS true
clever env set EXECUTIONS_DATA_SAVE_ON_ERROR all
clever env set N8N_USER_FOLDER /app/n8n-data/
clever env set DB_TYPE postgresdb
clever env set DB_POSTGRESDB_DATABASE `clever env | awk -F = '/POSTGRESQL_ADDON_DB/ { print $2}'|sed s/\"//g`
clever env set DB_POSTGRESDB_HOST `clever env | awk -F = '/POSTGRESQL_ADDON_HOST/ { print $2}'|sed s/\"//g`
clever env set DB_POSTGRESDB_PORT `clever env | awk -F = '/POSTGRESQL_ADDON_PORT/ { print $2}'|sed s/\"//g`
clever env set DB_POSTGRESDB_USER `clever env | awk -F = '/POSTGRESQL_ADDON_USER/ { print $2}'|sed s/\"//g`
clever env set DB_POSTGRESDB_PASSWORD `clever env | awk -F = '/POSTGRESQL_ADDON_PASSWORD/ { print $2}'|sed s/\"//g`
clever env set GENERIC_TIMEZONE "Europe/Paris"
clever env set CC_FS_BUCKET /n8n-data:`clever env | awk -F = '/BUCKET_HOST/ { print $2}'|sed s/\"//g`
clever env set CC_PRE_RUN_HOOK "cp -rp clever-cloud ~/.config/"
clever env set CC_RUN_COMMAND "./run.sh"
Deploying the application
Run the deployment command:
clever deploy
Log in to the n8n interface. To display the URL of your instance, type the command : clever domain
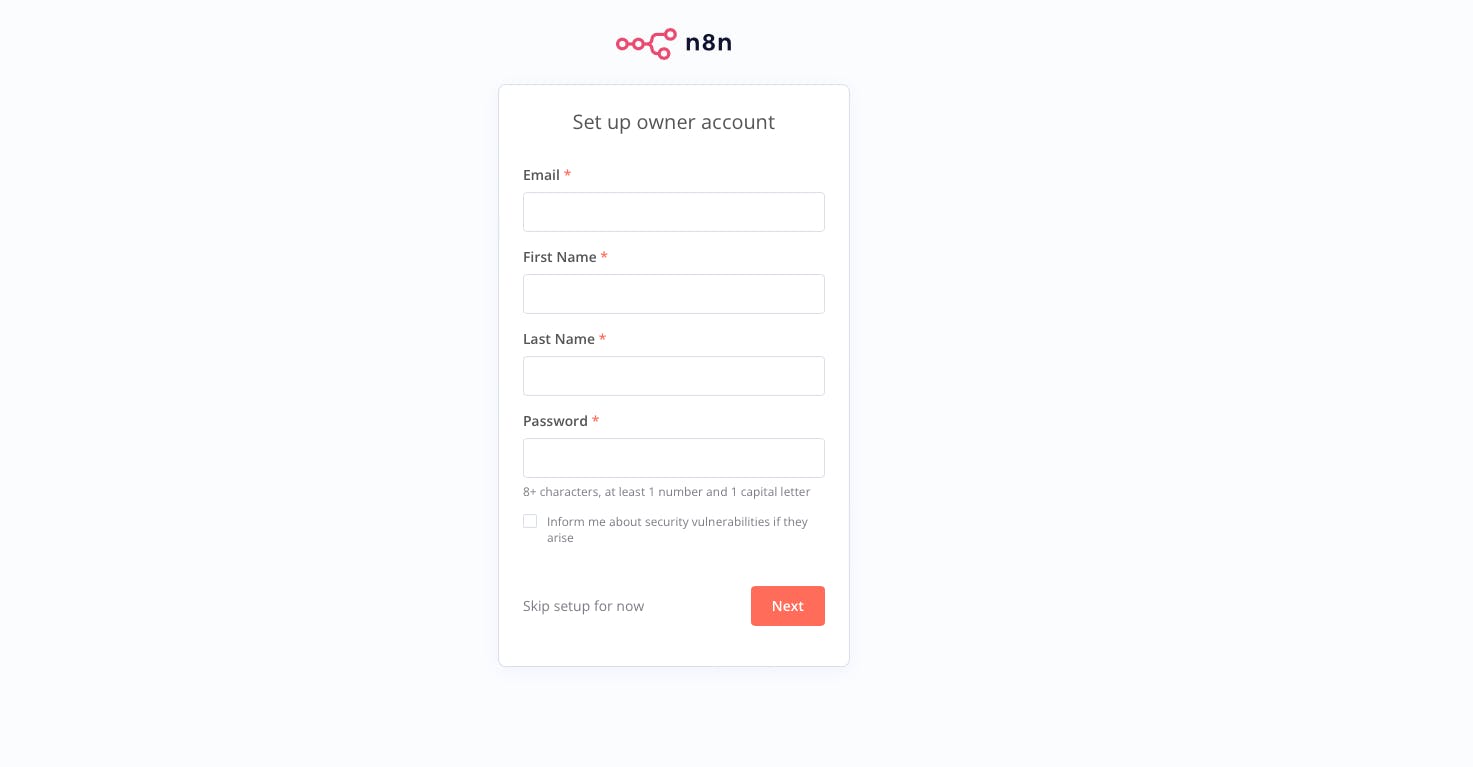
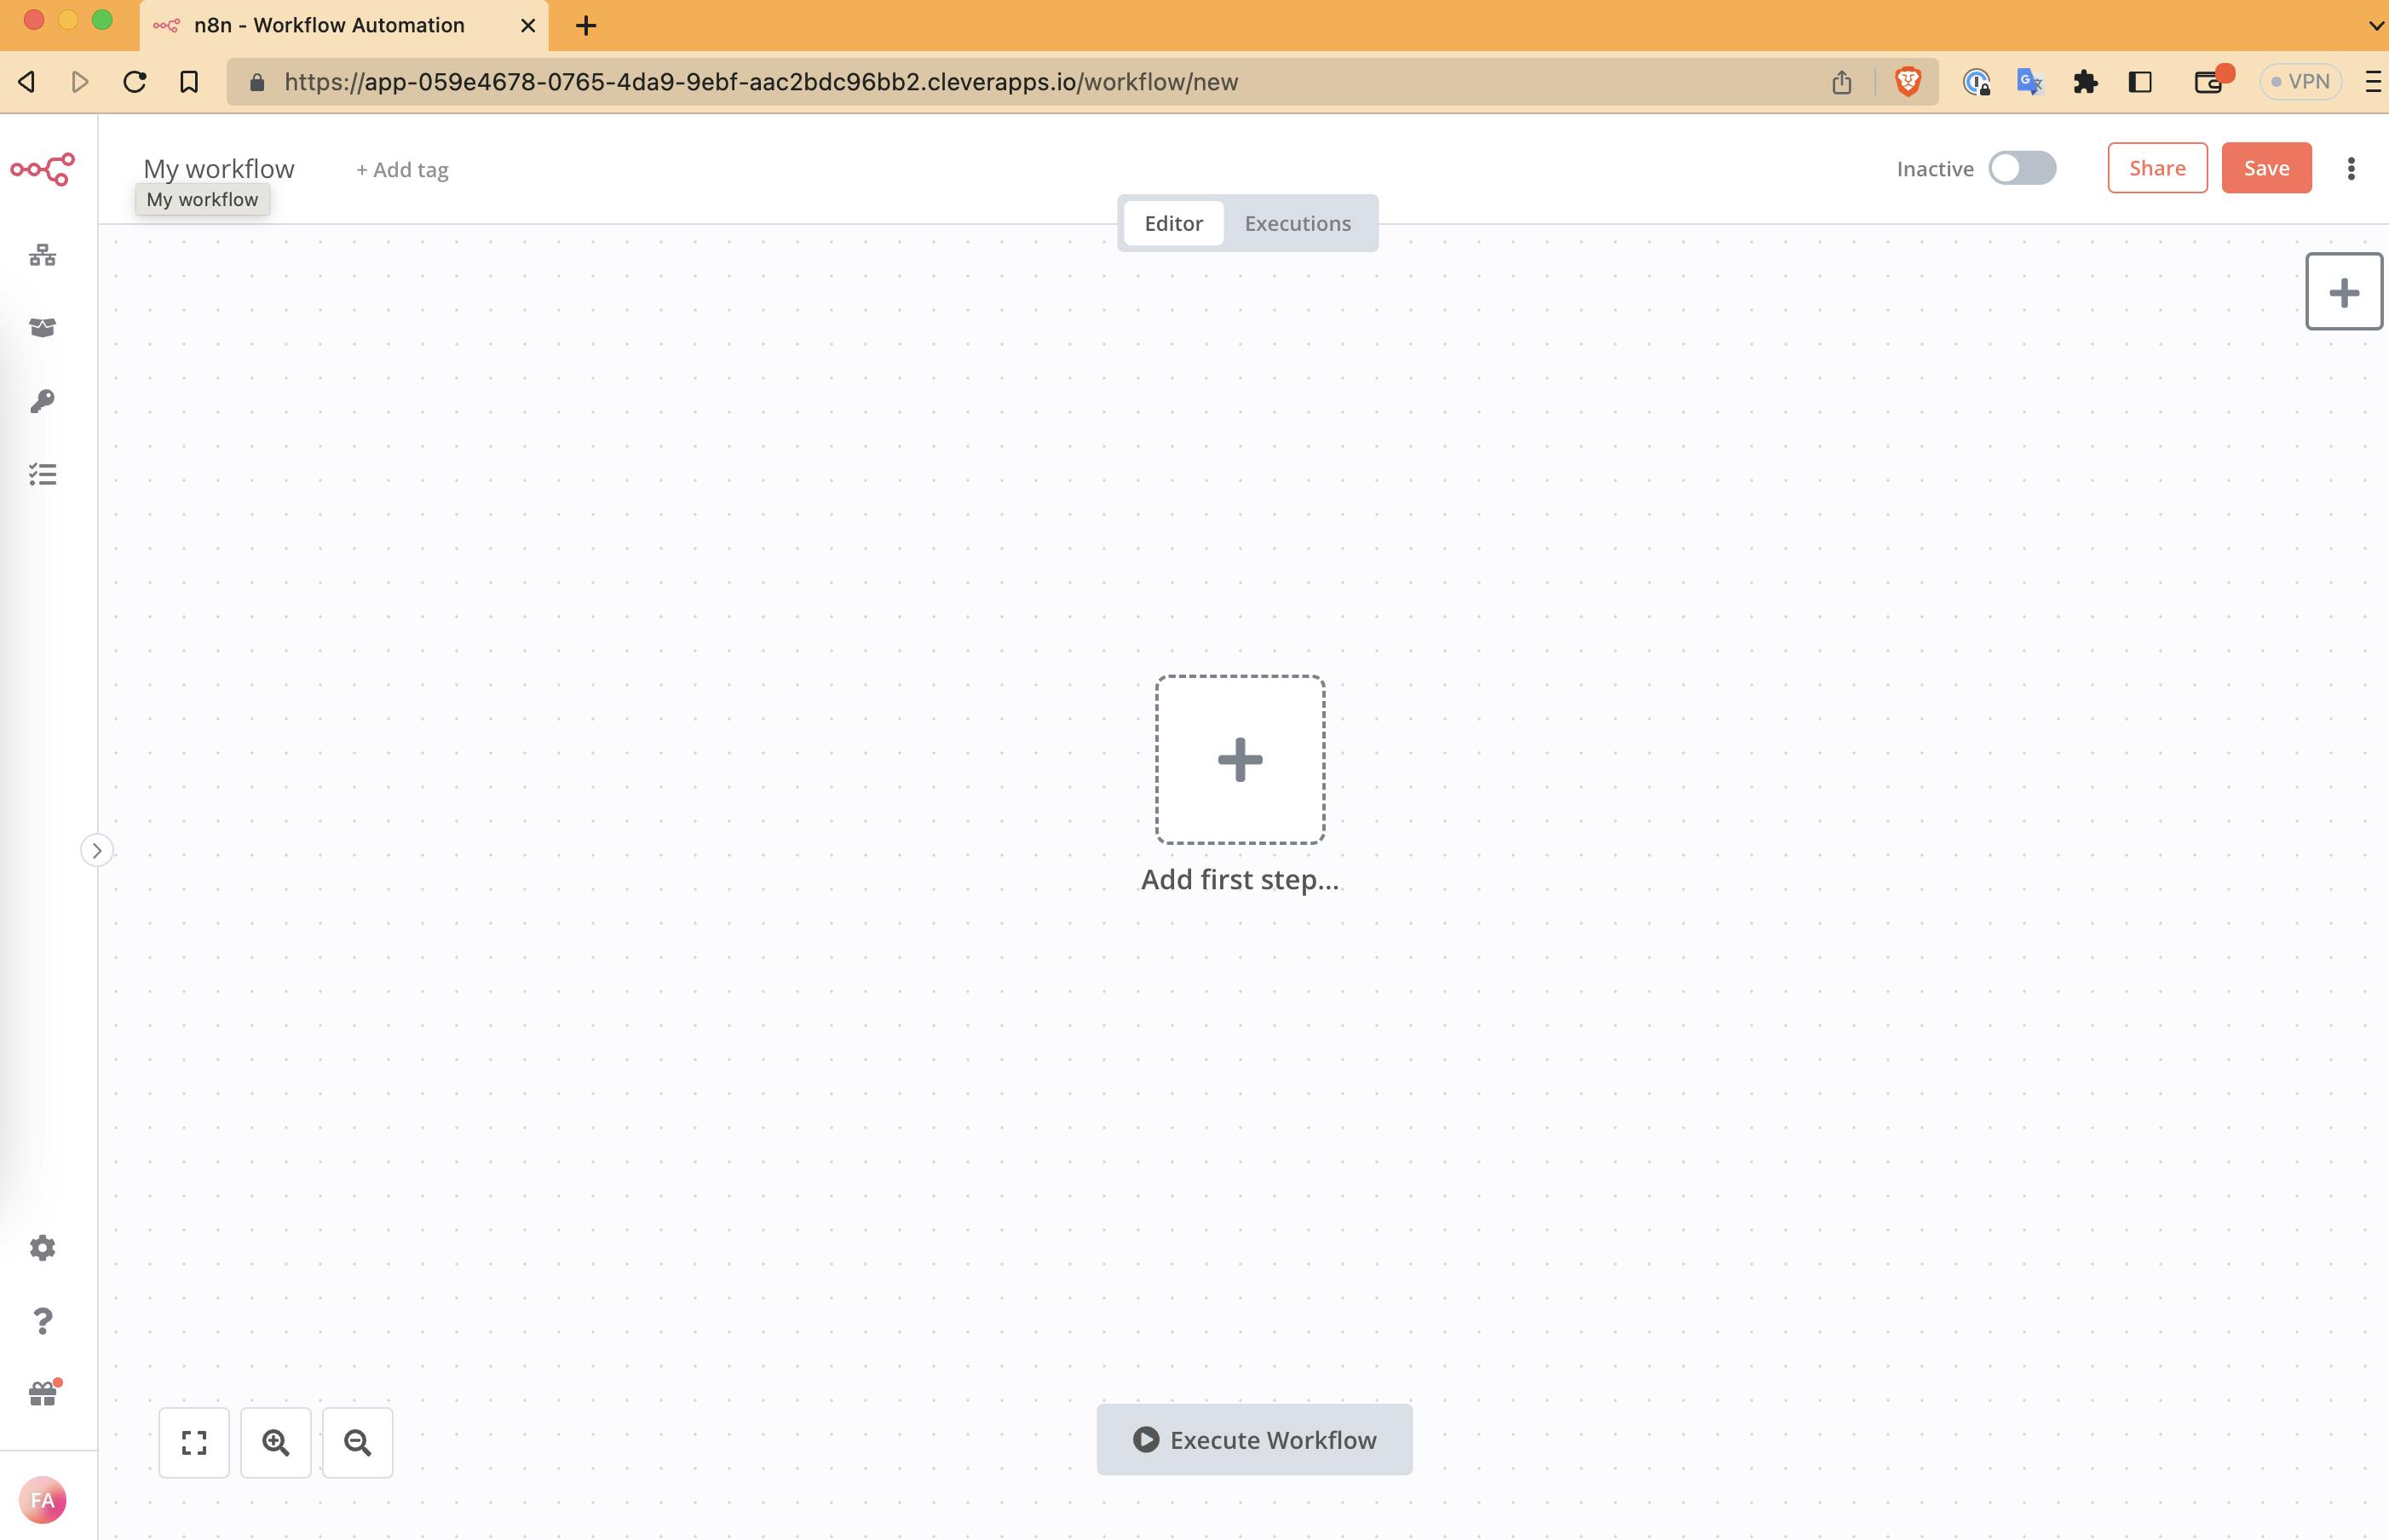
Create your n8n account, and you should arrive at this screen:
OpenVSCode Server
Create Dockerfile
We will create a Dockerfile template that will be used by n8n to create an OpenVSCode Server instance on the Clever Cloud platform.
SSH into the n8n instance:
cd /var/tmp/n8n
clever ssh
Now, we will create a template directory on the n8n fs-bucket and write a Dockerfile.
####### THE FOLLOWING COMMANDS ARE PERFORMED ON THE N8N INSTANCE LOCATED AT CLEVER CLOUD ######

cd /app/n8n-data/
mkdir modele
cd modele
Create the Dockerfile file:
Disconnect from your ssh session:
logout
Creating the n8n workflow
We will create, on your workstation, a JSON file that will allow us to import a workflow into n8n. This will include all tasks for creating an on-demand OpenVSCode instance on the Clever Cloud platform.
Creating the openvscodeserver.json file
Using your favorite code editor (vim power !!! \o/ ), create the openvscodeserver.json file
{
  "name": "OpenVSCode Server",
  "nodes": [
    {
      "parameters": {
        "httpMethod": "POST",
        "path": "da4da152-c7ac-40a5-9743-9362d9d05d94",
        "responseMode": "responseNode",
        "options": {}
      },
      "id": "3d011ea4-8a5a-463c-bd1f-7350fdc9378c",
      "name": "Webhook",
      "type": "n8n-nodes-base.webhook",
      "typeVersion": 1,
      "position": [
        460,
        460
      ],
      "webhookId": "da4da152-c7ac-40a5-9743-9362d9d05d94"
    },
    {
      "parameters": {
        "command": "=#!/bin/bash\ncd /app/n8n-data\ncp -rp modele {{ $json.body.login }}\ncd {{ $json.body.login }}\nclever create --type docker --org {{ $json.body.clever_orga }} --alias ovscodesrv-{{ $json.body.login }} --region par ovscodesrv-cc-{{ $json.body.login }}\nclever config update --enable-sticky-sessions --enable-force-https --enable-zero-downtime\nclever scale --flavor M\nclever env set CC_MOUNT_DOCKER_SOCKET true\nclever env set VSCODE_TOKEN {{ $json.body.password }}\nclever env set LOGIN {{ $json.body.login }}\nclever env set USERNAME {{ $json.body.login }}"
      },
      "id": "a08b2d77-4e07-42be-b10c-02cc485f5b9e",
      "name": "Creation instance",
      "type": "n8n-nodes-base.executeCommand",
      "typeVersion": 1,
      "position": [
        680,
        460
      ]
    },
    {
      "parameters": {
        "command": "=cd /app/n8n-data/{{ $node.Webhook.json.body.login }}\nclever domain\n"
      },
      "id": "3828321b-37e8-43fa-ad78-fb3830765054",
      "name": "Extraction url",
      "type": "n8n-nodes-base.executeCommand",
      "typeVersion": 1,
      "position": [
        900,
        460
      ]
    },
    {
      "parameters": {
        "respondWith": "json",
        "responseBody": "={\n\"url_ovscodesrv\":\"https://{{ $json[\"stdout\"] }}/?tkn={{ $node[\"Webhook\"].json[\"body\"][\"password\"] }}\"\n}",
        "options": {}
      },
      "id": "8ad06f65-5e6d-4941-b7dd-65a6e526f4a5",
      "name": "Respond to Webhook",
      "type": "n8n-nodes-base.respondToWebhook",
      "typeVersion": 1,
      "position": [
        1120,
        460
      ]
    },
    {
      "parameters": {
        "command": "=cd /app/n8n-data/{{ $node[\"Webhook\"].json[\"body\"][\"login\"] }}\ngit init\ngit add Dockerfile\ngit config user.email \"unemail@monemail.com\"\ngit config --global user.name \"monuser\"\ngit commit -m \"deploy ovscodesrv\"\nclever deploy\nexit 0\n\n"
      },
      "id": "42d6b120-6e58-4526-8bdb-ebbb62cb4316",
      "name": "Execute Command",
      "type": "n8n-nodes-base.executeCommand",
      "typeVersion": 1,
      "position": [
        1340,
        460
      ]
    },
    {
      "parameters": {
        "httpMethod": "DELETE",
        "path": "8de6a9be-f70b-42bb-86a2-77d8ab1e6b1e",
        "responseCode": 204,
        "options": {}
      },
      "id": "74ca1221-3a06-4b2f-975d-37680ec9e1af",
      "name": "Webhook delete",
      "type": "n8n-nodes-base.webhook",
      "typeVersion": 1,
      "position": [
        460,
        680
      ],
      "webhookId": "8de6a9be-f70b-42bb-86a2-77d8ab1e6b1e"
    },
    {
      "parameters": {
        "command": "=cd /app/n8n-data/{{ $json[\"query\"][\"login\"] }}\nclever delete --yes\nwait 2\ncd ..\nrm -r {{ $json[\"query\"][\"login\"] }}\n\n\n\n"
      },
      "id": "5570025c-5051-41eb-bab2-a26c8f162c9e",
      "name": "Delete instance",
      "type": "n8n-nodes-base.executeCommand",
      "typeVersion": 1,
      "position": [
        680,
        680
      ]
    }
  ],
  "pinData": {},
  "connections": {
    "Webhook": {
      "main": [
        [
          {
            "node": "Creation instance",
            "type": "main",
            "index": 0
          }
        ]
      ]
    },
    "Creation instance": {
      "main": [
        [
          {
            "node": "Extraction url",
            "type": "main",
            "index": 0
          }
        ]
      ]
    },
    "Extraction url": {
      "main": [
        [
          {
            "node": "Respond to Webhook",
            "type": "main",
            "index": 0
          }
        ]
      ]
    },
    "Respond to Webhook": {
      "main": [
        [
          {
            "node": "Execute Command",
            "type": "main",
            "index": 0
          }
        ]
      ]
    },
    "Webhook delete": {
      "main": [
        [
          {
            "node": "Delete instance",
            "type": "main",
            "index": 0
          }
        ]
      ]
    }
  },
  "active": true,
  "settings": {},
  "versionId": "aa2ed598-e1fd-40c0-ba05-d4886e9f2a0d",
  "id": "1",
  "meta": {
    "instanceId": "faba38ba469281b3fa19b6c786fb85738c25cc6e23bb4c11bb541576dd1813f6"
  },
  "tags": []
}
Import the workflow in n8n
Log in to your n8n interface and import the workflow:

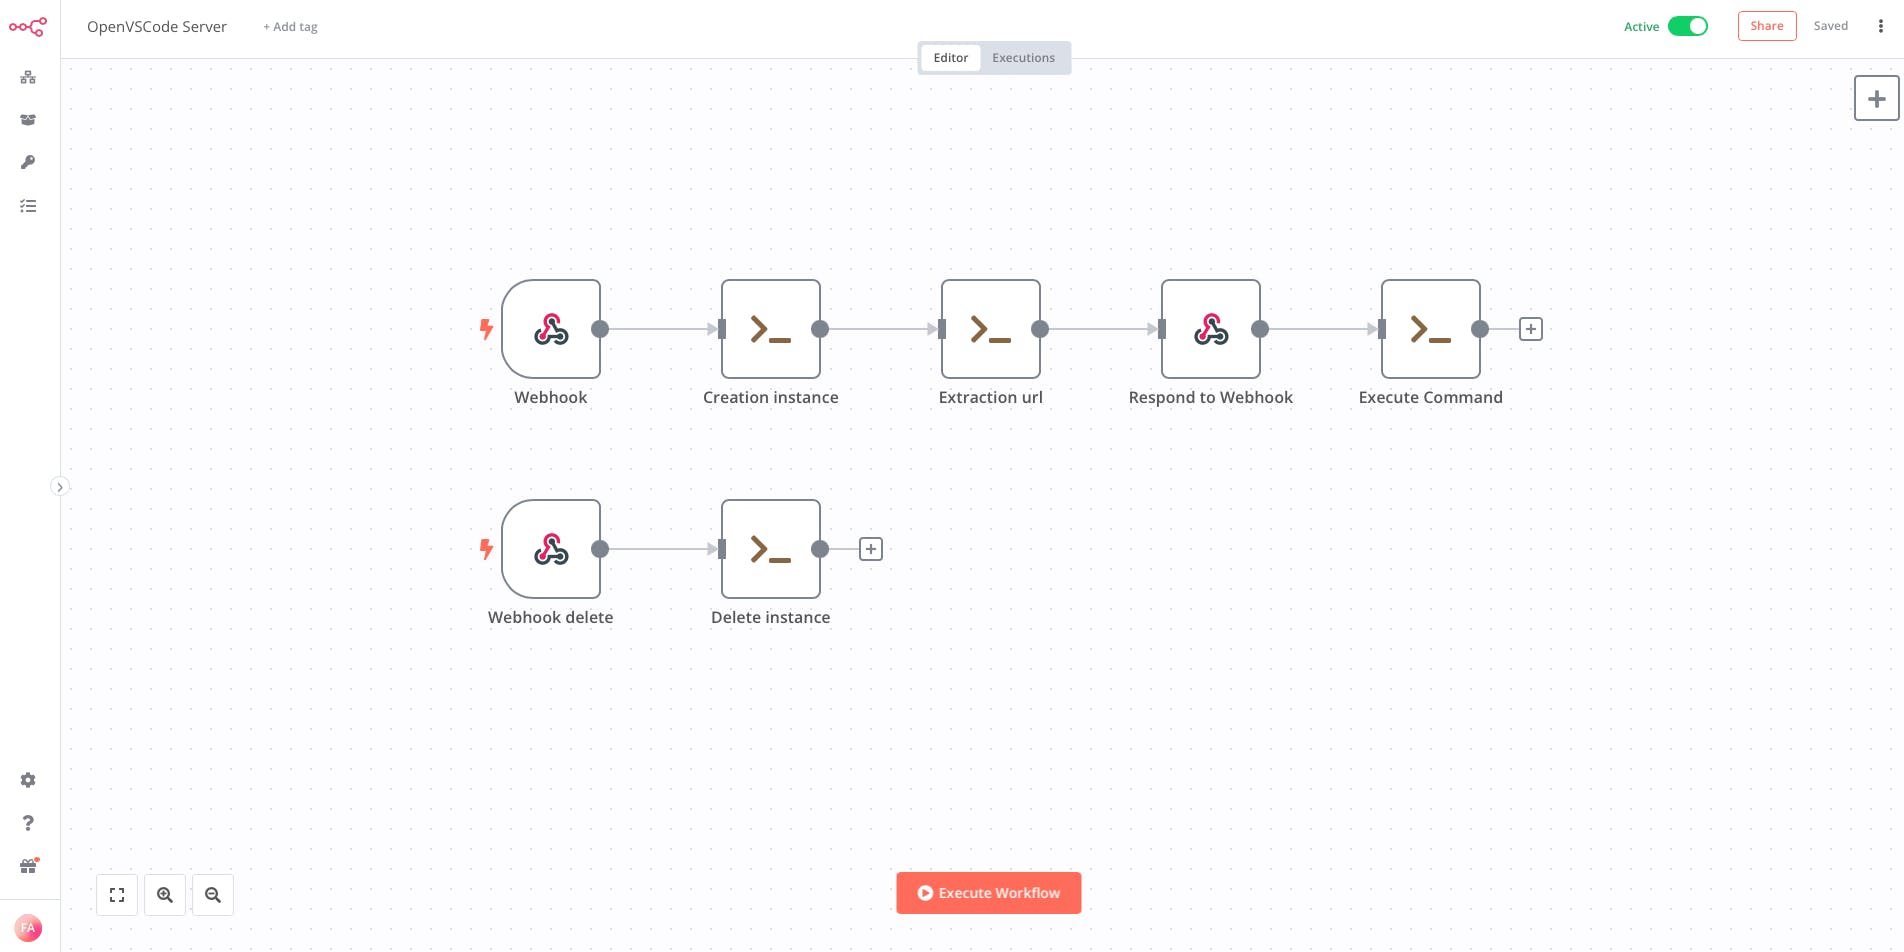
Click on the "Active" button to activate this workflow in n8n

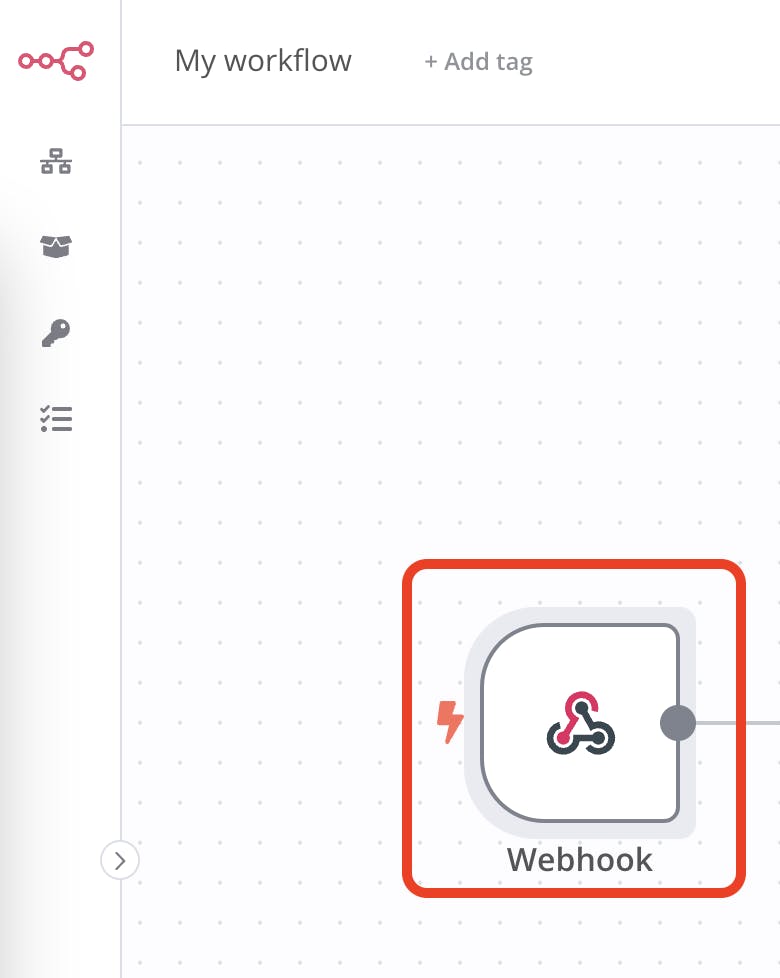
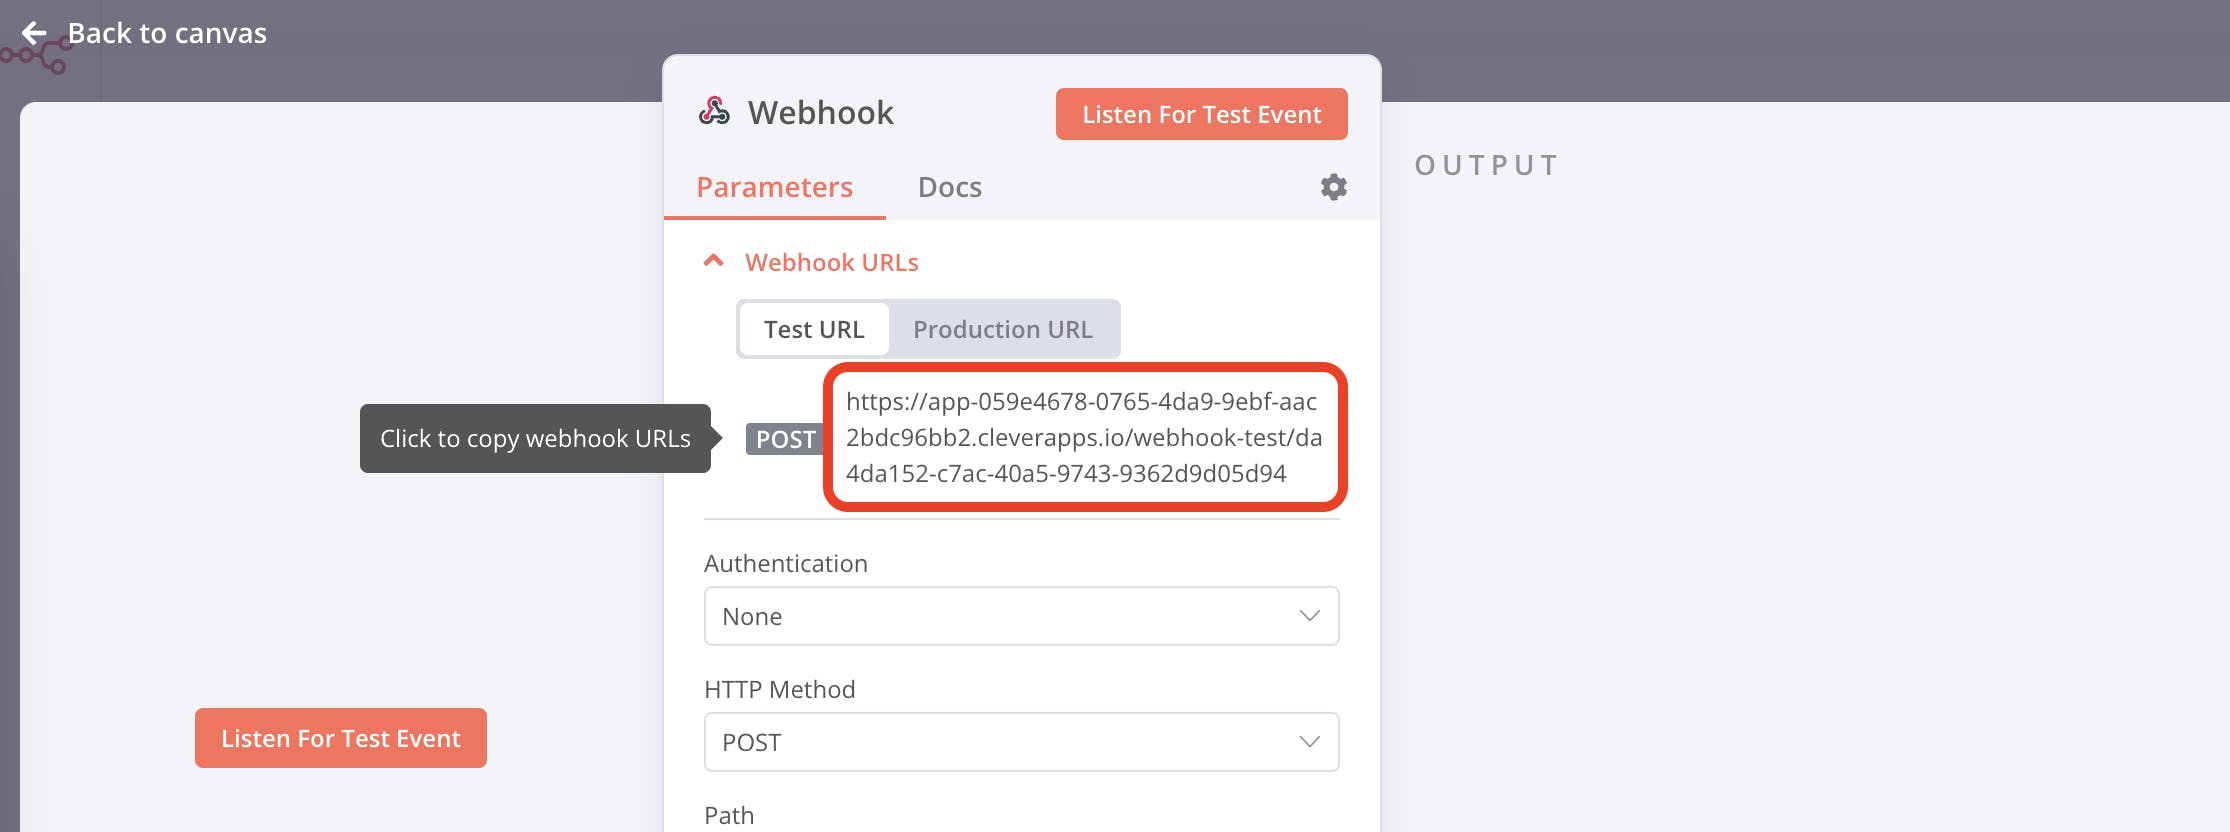
All that remains is to test the whole thing. Before that, you will need the webhook URL to create an instance. To get the URL, double-click on the webhook node and copy the URL :
Let's get started!
Creating an OpenVSCode Server instance
All that remains is to create an OpenVSCode Server instance using our webhook. We will use curl with some parameters :
| login | choice a login |
| password | set a password |
| clever_orga | specify the Clever Cloud organization id where you want to launch the OpenVSCode Server instance |
Don't forget to replace the URL with the one you obtained in the previous step.
curl -X POST -H "Content-Type: application/json" -d '{"login":"cowboycaramel","password":"unBoMcstnDlpdfEn2023","clever_orga":"orga_xxxxxxxx-xxxx-xxxx-xxxx-xxxxxxxxxxxx"}' https://app-059e4678-0765-4da9-9ebf-aac2bdc96bb2.cleverapps.io/webhook/da4da152-c7ac-40a5-9743-9362d9d05d94|jq
A few seconds after running the command, the output will provide you with the connection URL:

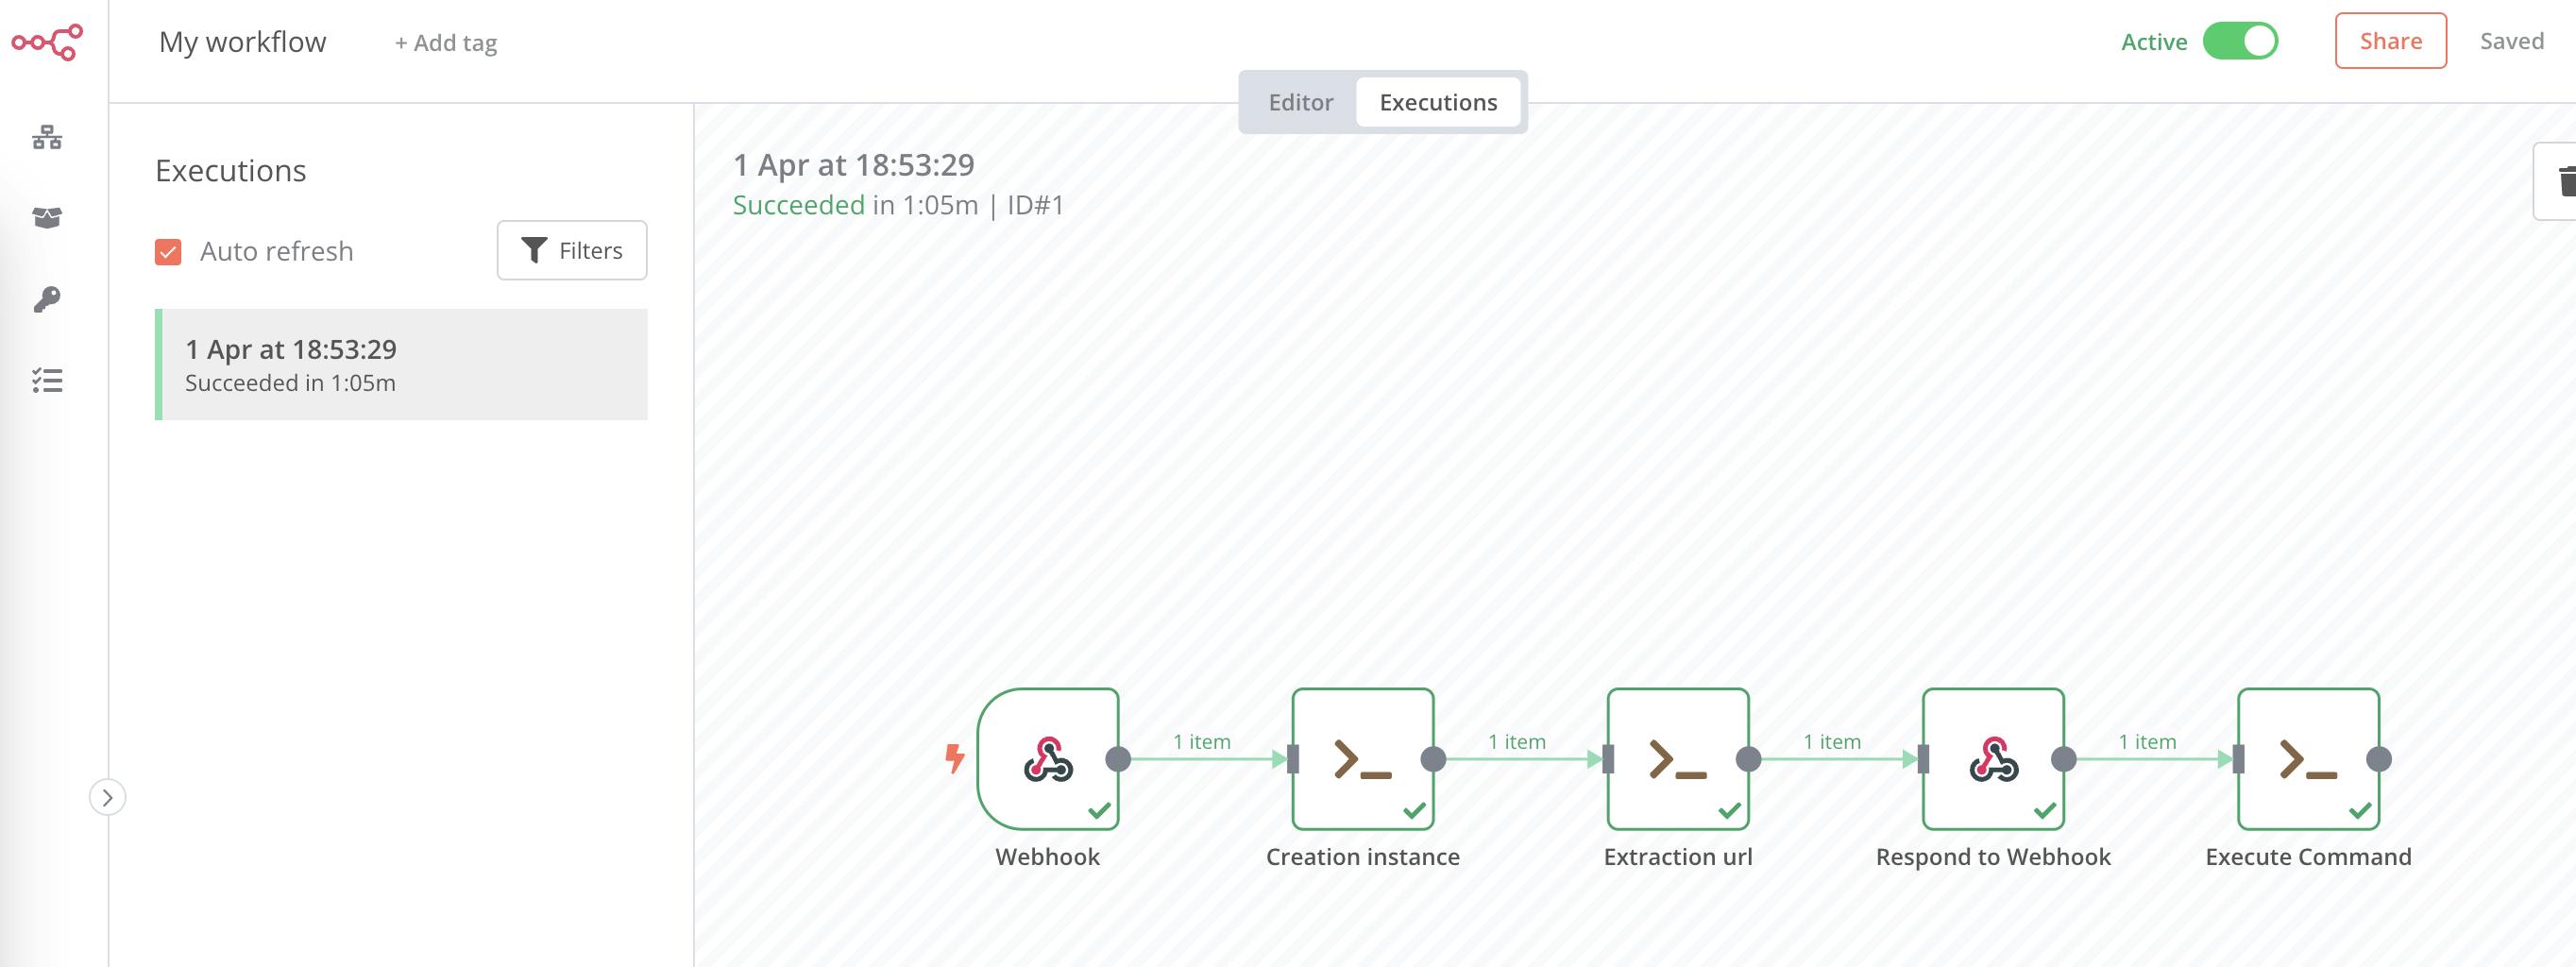
Generally, the creation time should not exceed 1 minute and 20 seconds. In the Executions tab, you will find an execution report:
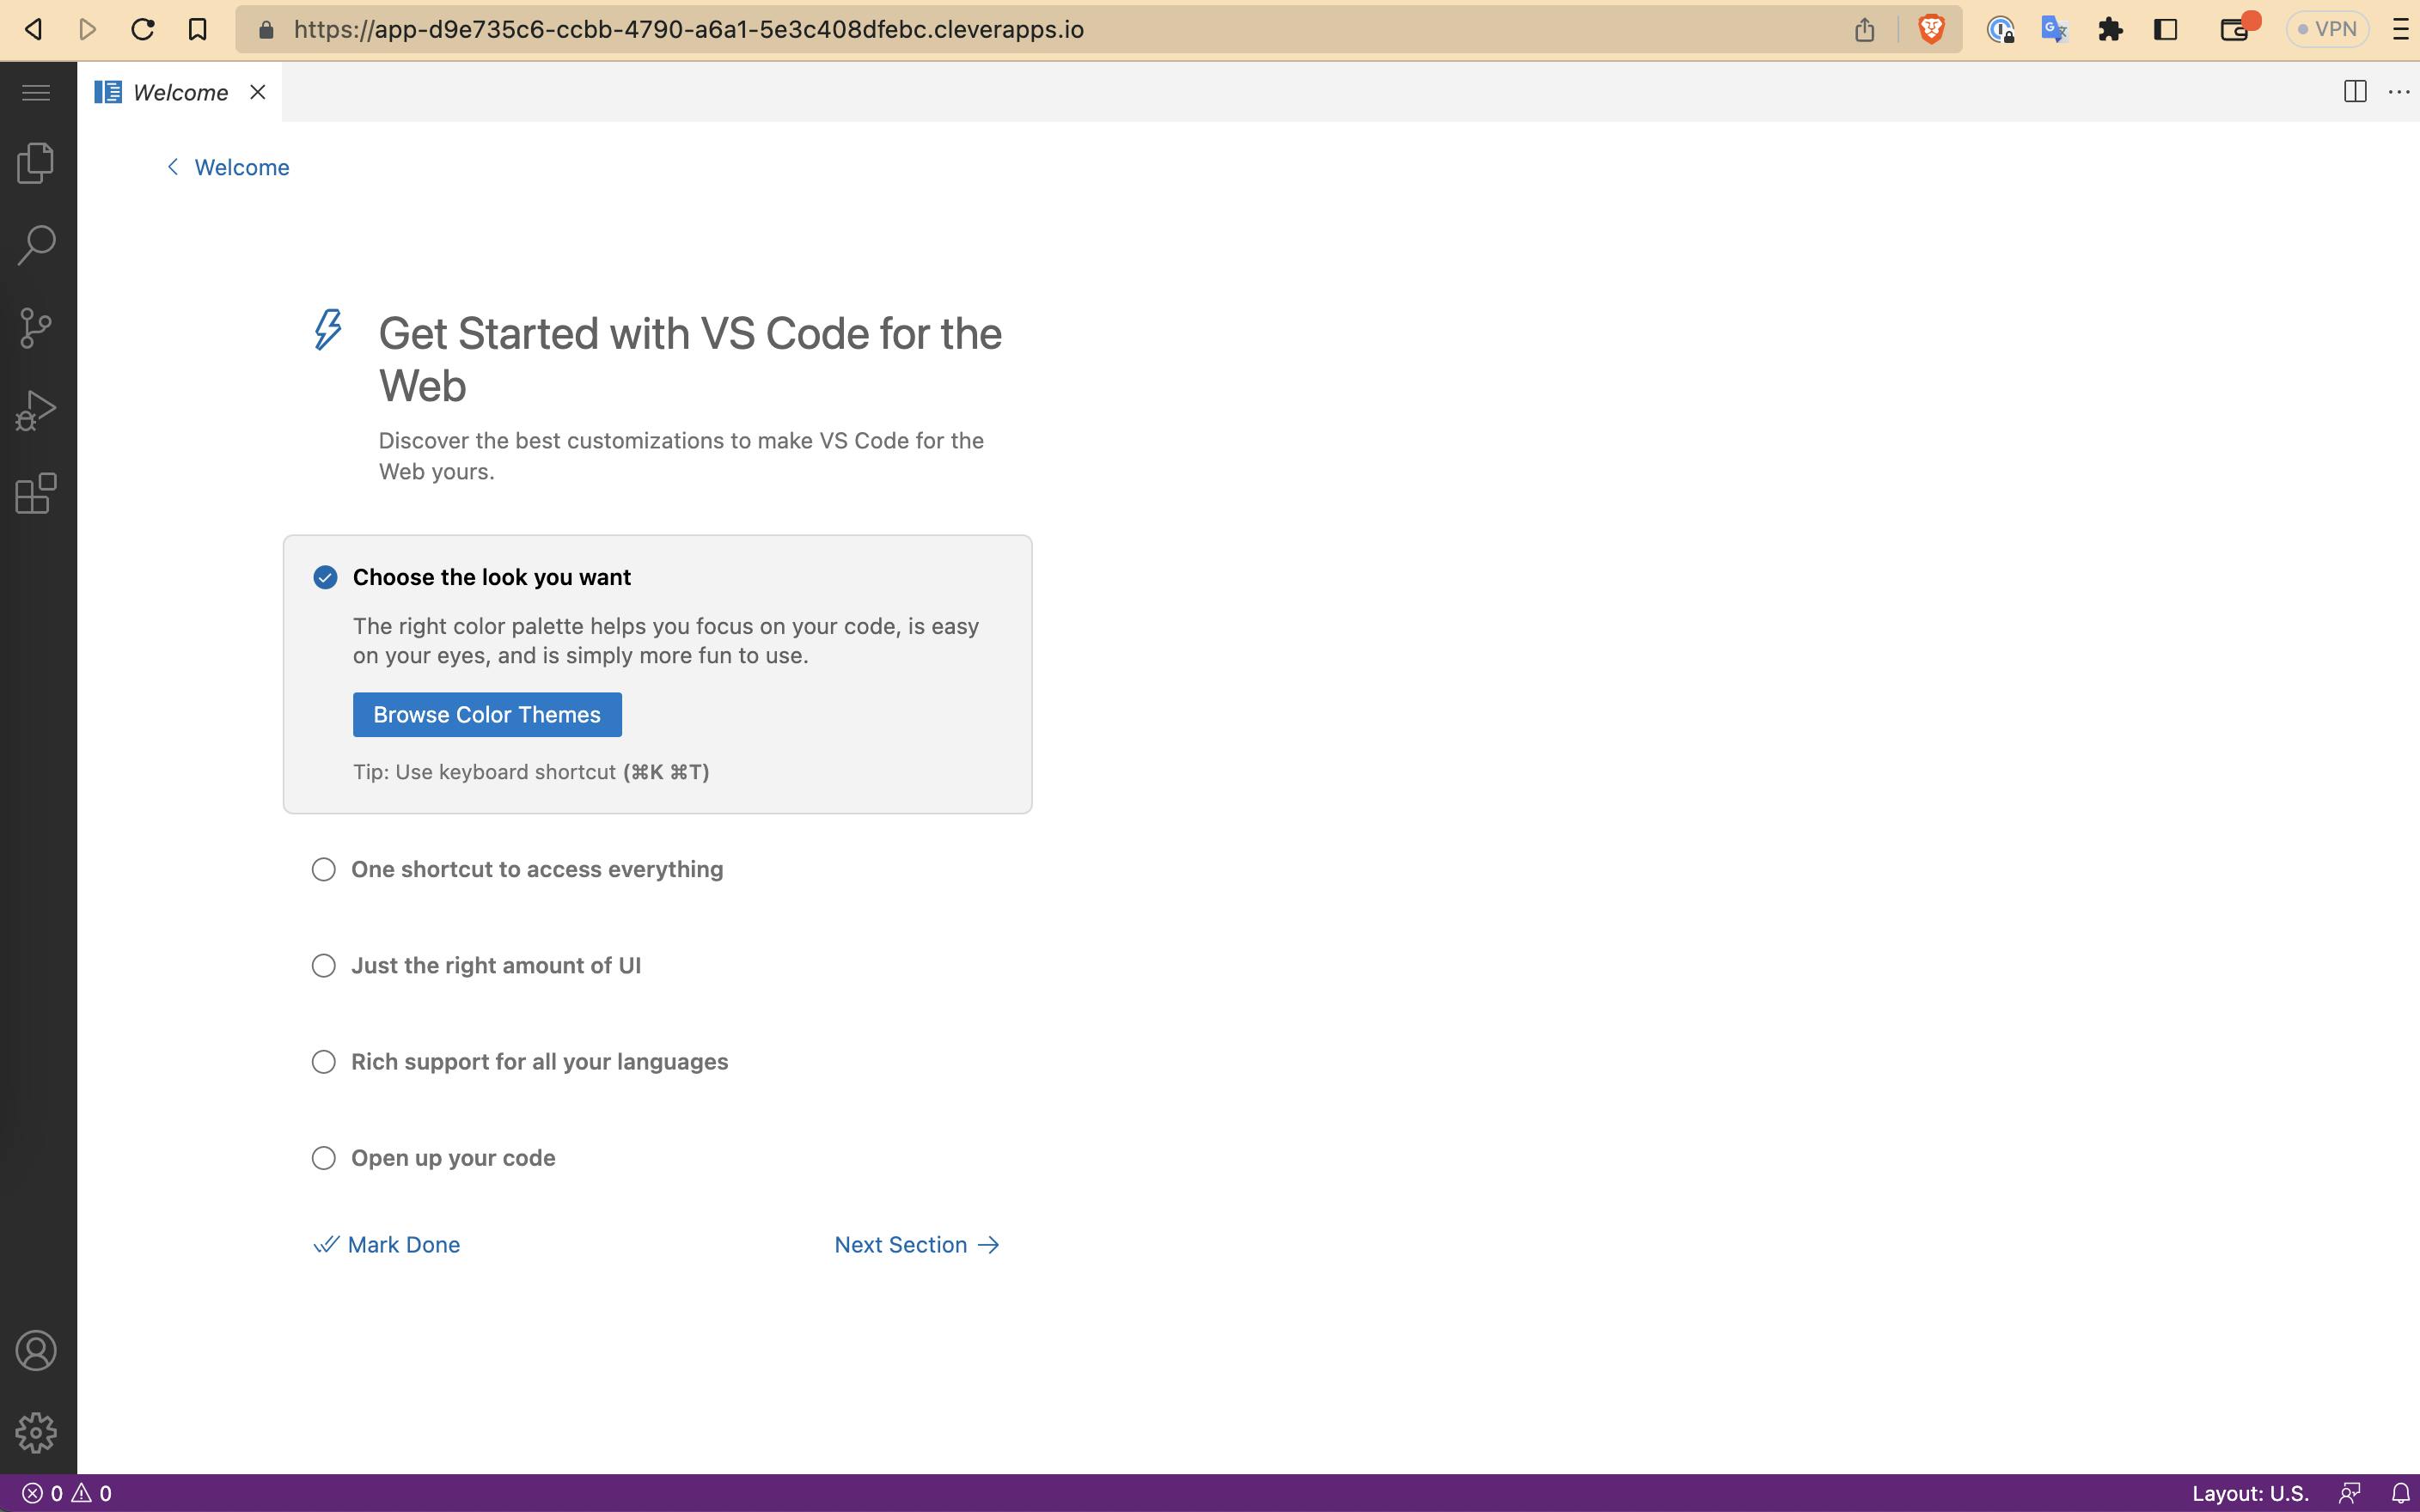
Now, let's use the URL in a web browser returned by curl:
You can now create as many instances as you wish. Remember to change the login in the curl command. It is possible to improve the workflow to check if an instance with the same name already exists, but this is beyond the scope of this article which is just an introduction to the many possibilities offered by the combination of n8n and Clever Cloud.
Deleting an OpenVSCode Server instance
As with the creation of an OpenVSCode Server instance, we need the webhook URL for deletion. As seen before, double-click on it and copy the URL. Add the following parameter at the end of the URL: login=<your_login>
For example, if my deletion webhook URL is https://app-059e4678-0765-4da9-9ebf-aac2bdc96bb2.cleverapps.io/webhook/8de6a9be-f70b-42bb-86a2-77d8ab1e6b1e and the login of my instance is cowboycaramel, it will result in the following curl command :
curl -X DELETE "https://app-059e4678-0765-4da9-9ebf-aac2bdc96bb2.cleverapps.io/webhook/8de6a9be-f70b-42bb-86a2-77d8ab1e6b1e/?login=cowboycaramel"
After a few seconds, the cowboycaramel instance will be destroyed.
Conclusion
I hope you enjoyed this article and, perhaps, it has given you ideas for your future projects. If you are looking for expertise on Clever Cloud environments, feel free to write to me at frederic.alix@pancasat.com.

